Elite v7 brings a refreshed look with many improvements to make use of the software even more efficient. Functionality is brought to the fore making it quicker to access and even more intuitive.
Our team will work with you to arrange your upgrade to v7.
How you access the application, such as through a desktop shortcut, will not change. When you first run the v7 Client you may be asked if you wish to copy your V6 configuration, to which you can confirm Yes to ensure you have the same access to your Elite system.
If you are running a V6 Client alongside a v7 Client, you may notice that the v7 application on your computer will now be called espclient7.exe rather than espclient.exe; this file name should not be changed.
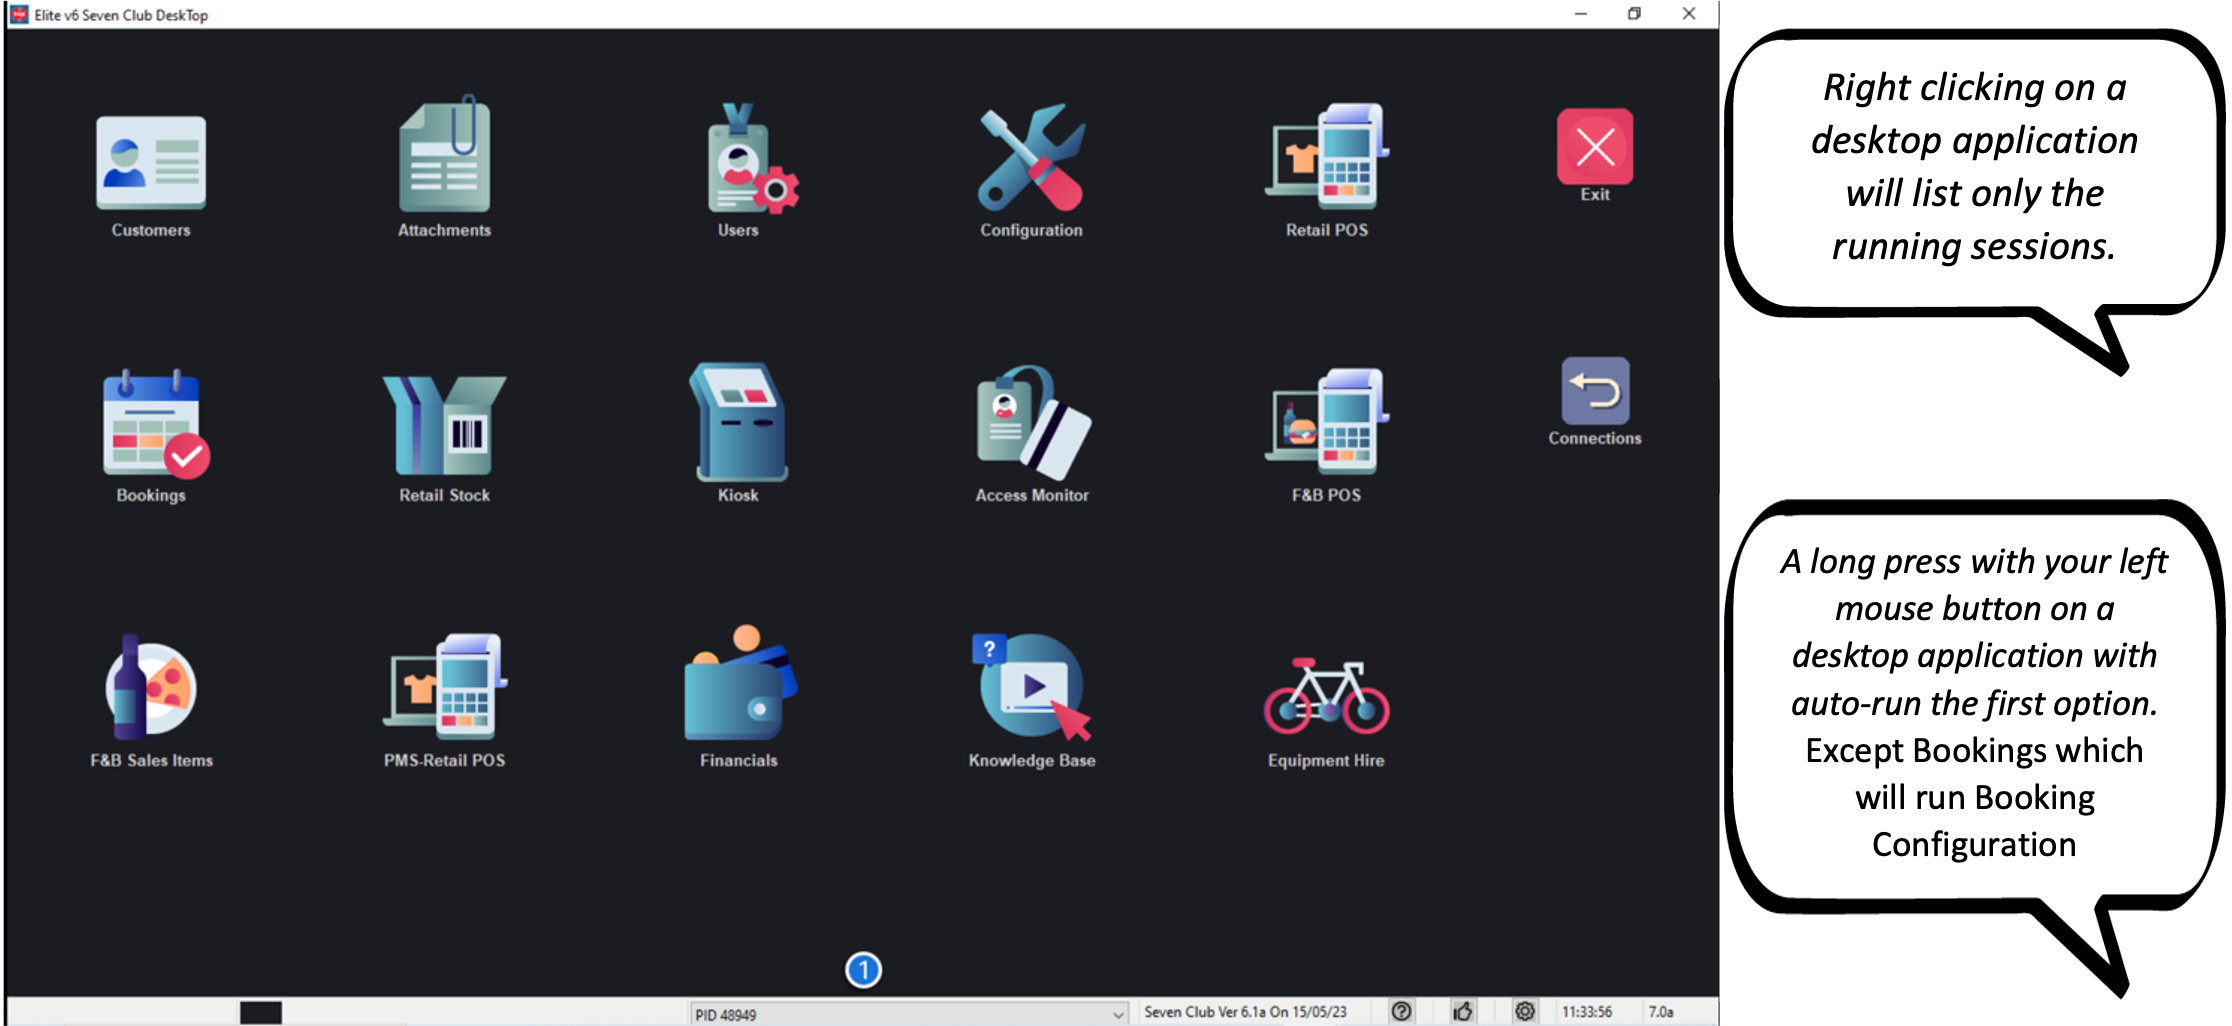
Desktop Navigation
You will notice new desktop icons but the way in which you can navigate from the desktop to run different applications will be familiar and similar to V6.
Screen Resolution
The v7 client displays best on a high resolution so we recommend using a minimum of 1080p display (1920×1080), the minimum supported resolution is 1366×768.
For terminals that only run F&B POS the minimum supported resolution is 1024×768.
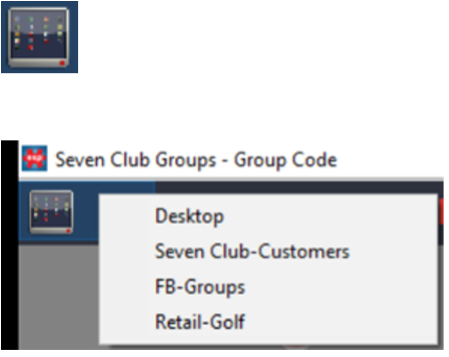
Desktop Button
From any session that you have run, at the very top left of the screen is a desktop button.
As well as allowing you to return to the Desktop, from here you can access any other running session to allow you to quickly move between windows to complete tasks.
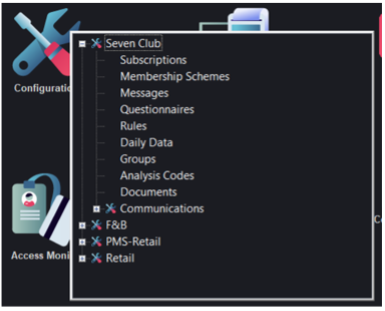
Menu Wording
We have shortened a lot of the wording on menus to make it easier on the eye and quicker to find what you are after.
For instance, in Configuration “Maintain Subscriptions” and “Maintain Groups” are simply now worded “Subscriptions” and “Groups”.
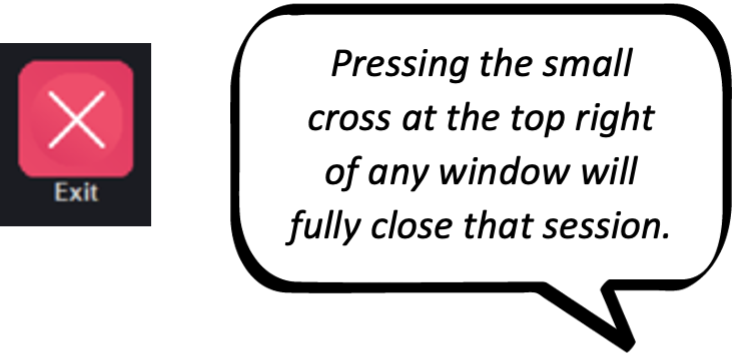
Closing the Desktop
When closing the desktop using the Exit button, all running sessions will be closed except for tasks such as editing database records. When you exit from these tasks that are preventing the desktop from closing, the application will continue to complete exiting.

Ribbon Navigation
From any session that you are running, a ribbon menu is now available at the top left of the screen which allows you to directly access any other option within Elite without the need to return to the desktop.
 Pressing this will display a ribbon menu with each application available, pressing the ribbon button again will hide the ribbon.
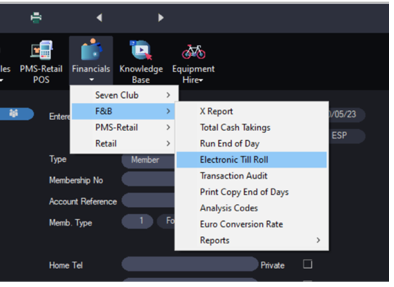
When clicking on any of the ribbon options you will see a menu to select from in a similar way to the desktop.
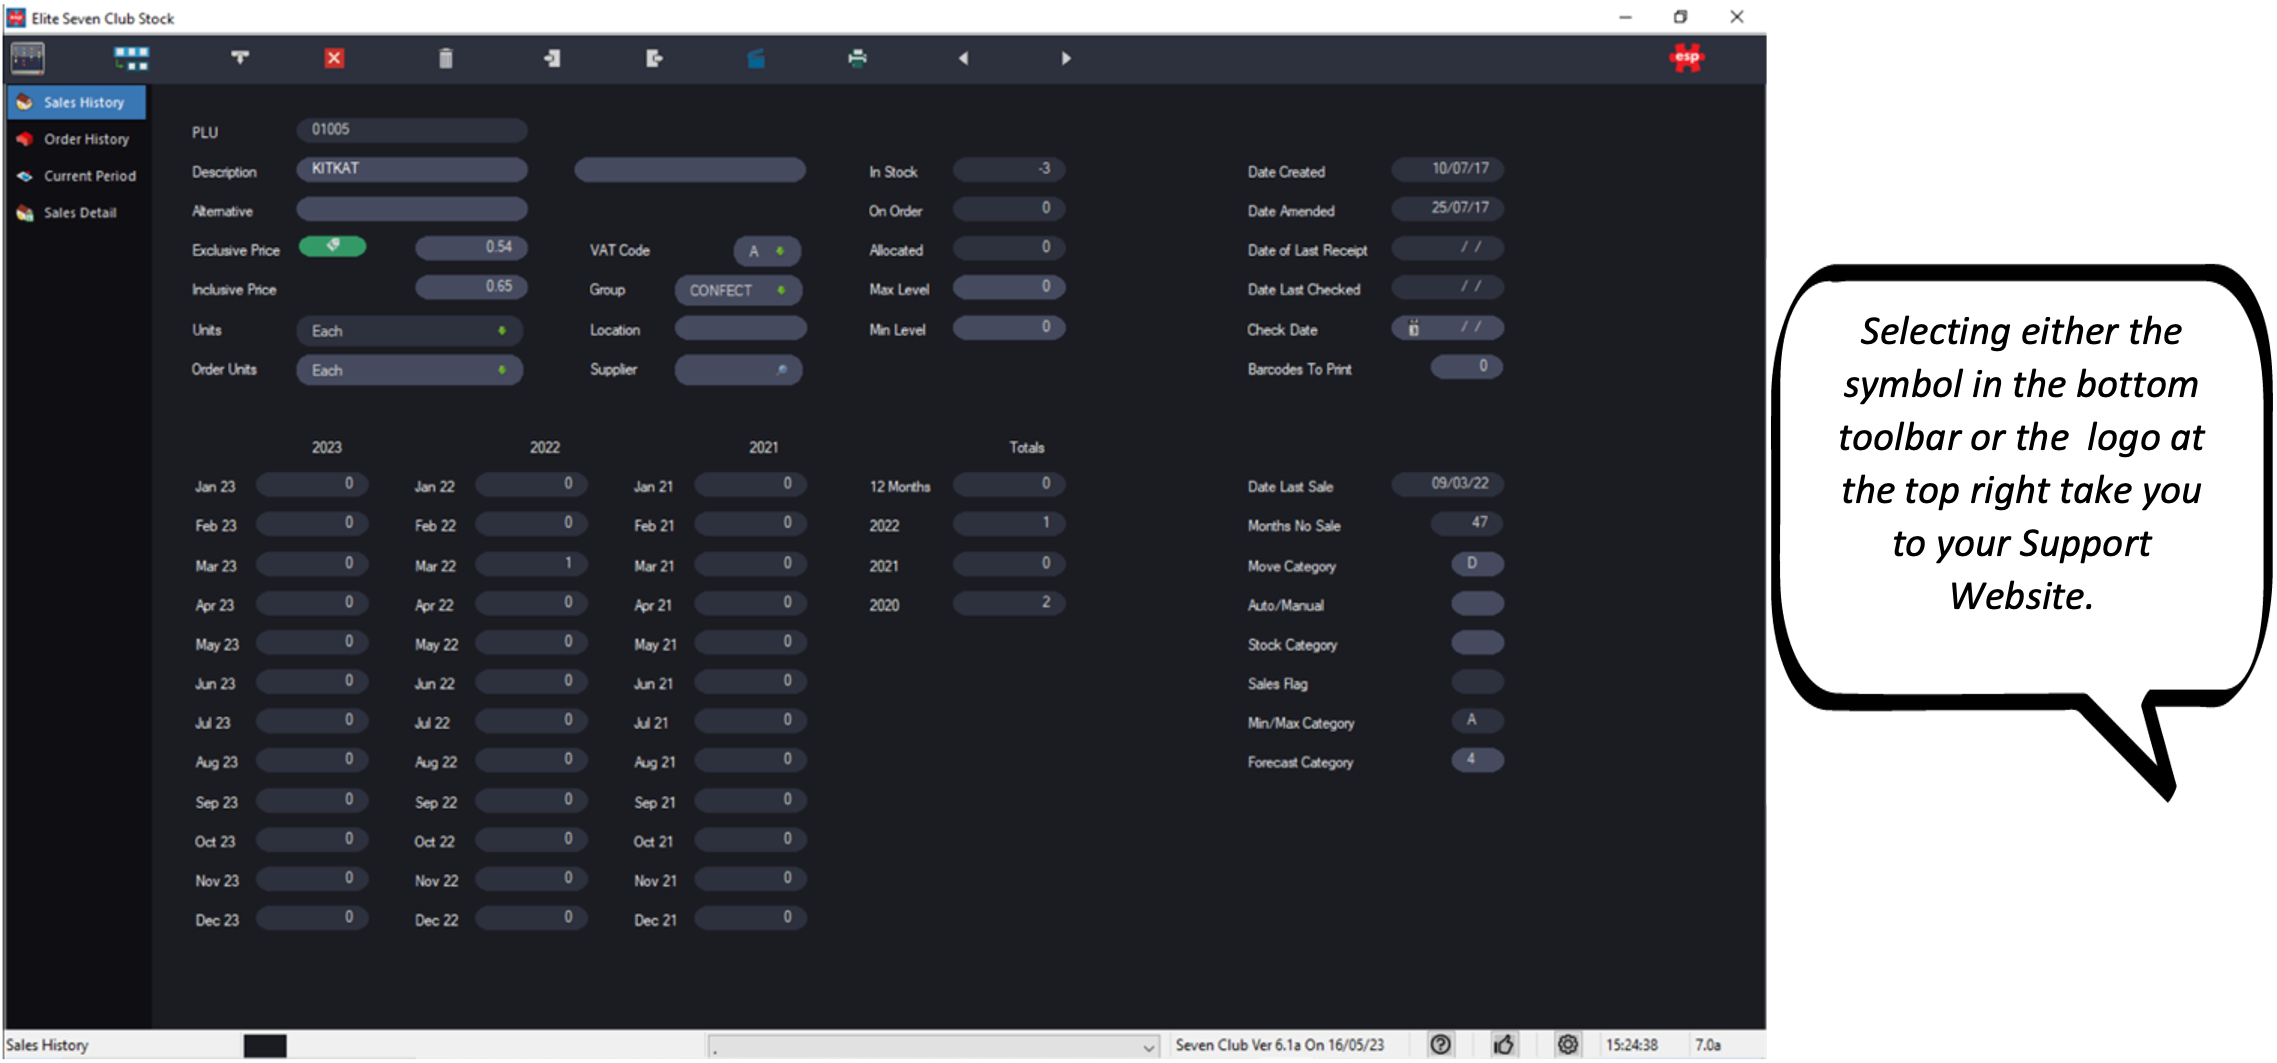
From the new session that you have started, you can quickly return to the previous one by clicking the icon at the top left of the screen which will relate to the type of session you will return to.
 In this example you will be returned to Customers:
Database Record Layout
All database records have been updated to make the layout more intuitive, the main changes include:
- Multiple tabs are now listed down the left-hand side.
- Some fields have been re-positioned to better group them with other relevant fields.
- Fields that can be edited are displayed in a lighter shade than those fields which are not editable.
- Some tick boxes are now displayed as toggle switches.
- Titles to configurable fields can now be displayed over multiple lines to accommodate longer titles.

Database Record Navigation
When you initially view a database record, this will be in a ‘View’ mode, to start editing you can now simply select any field in the record and it will automatically be accepted and allow editing. There is now no need to press the ‘Accept’ menu button.
To exit from the record you should then use the Exit button on the menu.
The menu buttons to move to the Previous and Next database records can now be used with a single click while you are editing records. So there is now no need to Exit before selecting Previous/Next and then pressing Accept again.
On Panel Buttons
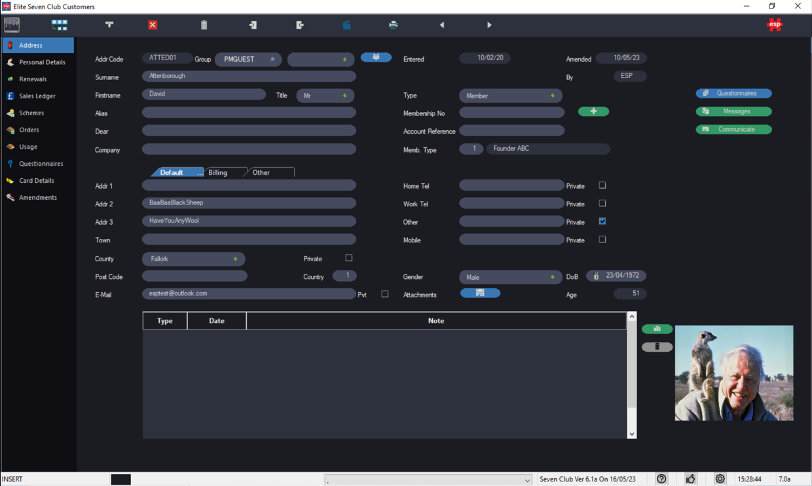
Many tasks that were only previously accessible via a menu on the top toolbar are now directly accessible from buttons on the panel. As well as making it quicker to access these functions, we hope you may also find some functions that you maybe didn’t know were present.
The Customer Record panel has many examples of these.

Floatover Assist
A floatover description is displayed on these buttons, this example shows that this button relates to viewing the Associate records for this customer.
The button colours indicate the type of function they relate to:
- Blue buttons relate to a look-up or link to other relevant data.
- Green buttons perform an Action relating to the current record.
Menus
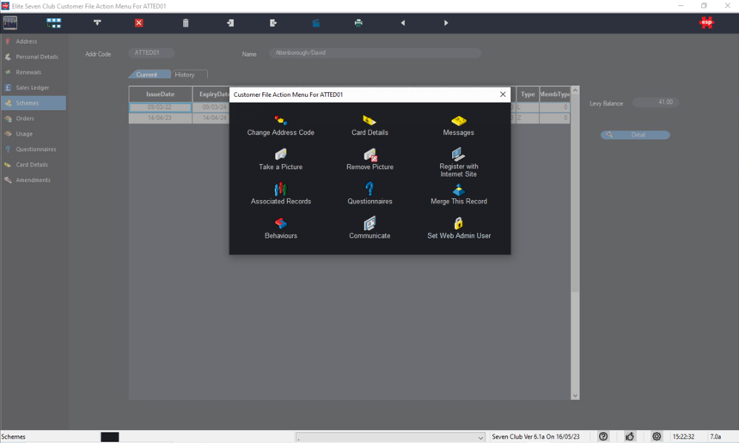
Menus such as the example below, are now displayed in a more streamlined way and therefore do not have an Exit option within the body of the menu. You can dismiss a menu by simply clicking outside of the menu box or by clicking the X at the top right of the menu window.
Individual Customer Engage Communications
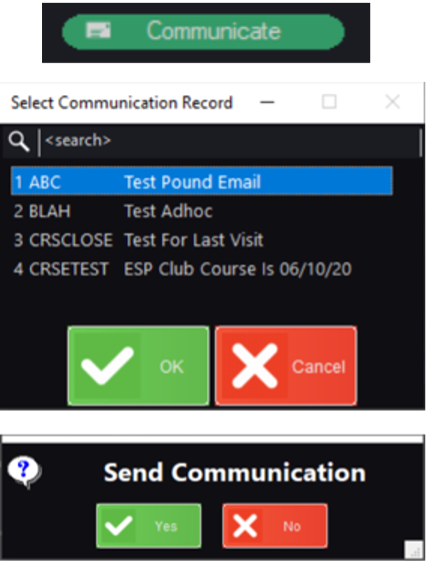
For systems that have Engage Communications enabled it is now possible to send an Ad-Hoc Engage communication to a single customer. This is done via the Communicate button on the first panel of their Customer Record.
After selecting which communication to send you are shown the communication record to check it is correct.
To proceed you need to press the Accept button on the top menu and then confirm you wish to send.
This allows you to send any communication configured in your Engage system which is of the type ‘Ad-Hoc’.
If you do not have our Engage Communication module please contact us to find out more.
Sales Ledger Management
There is now no need to enter your user password again to be able to create a sales ledger posting within a customer record. As long as the user logged in to Elite has permission to do so, they can make entries on a ledger and a posting record will automatically be opened.
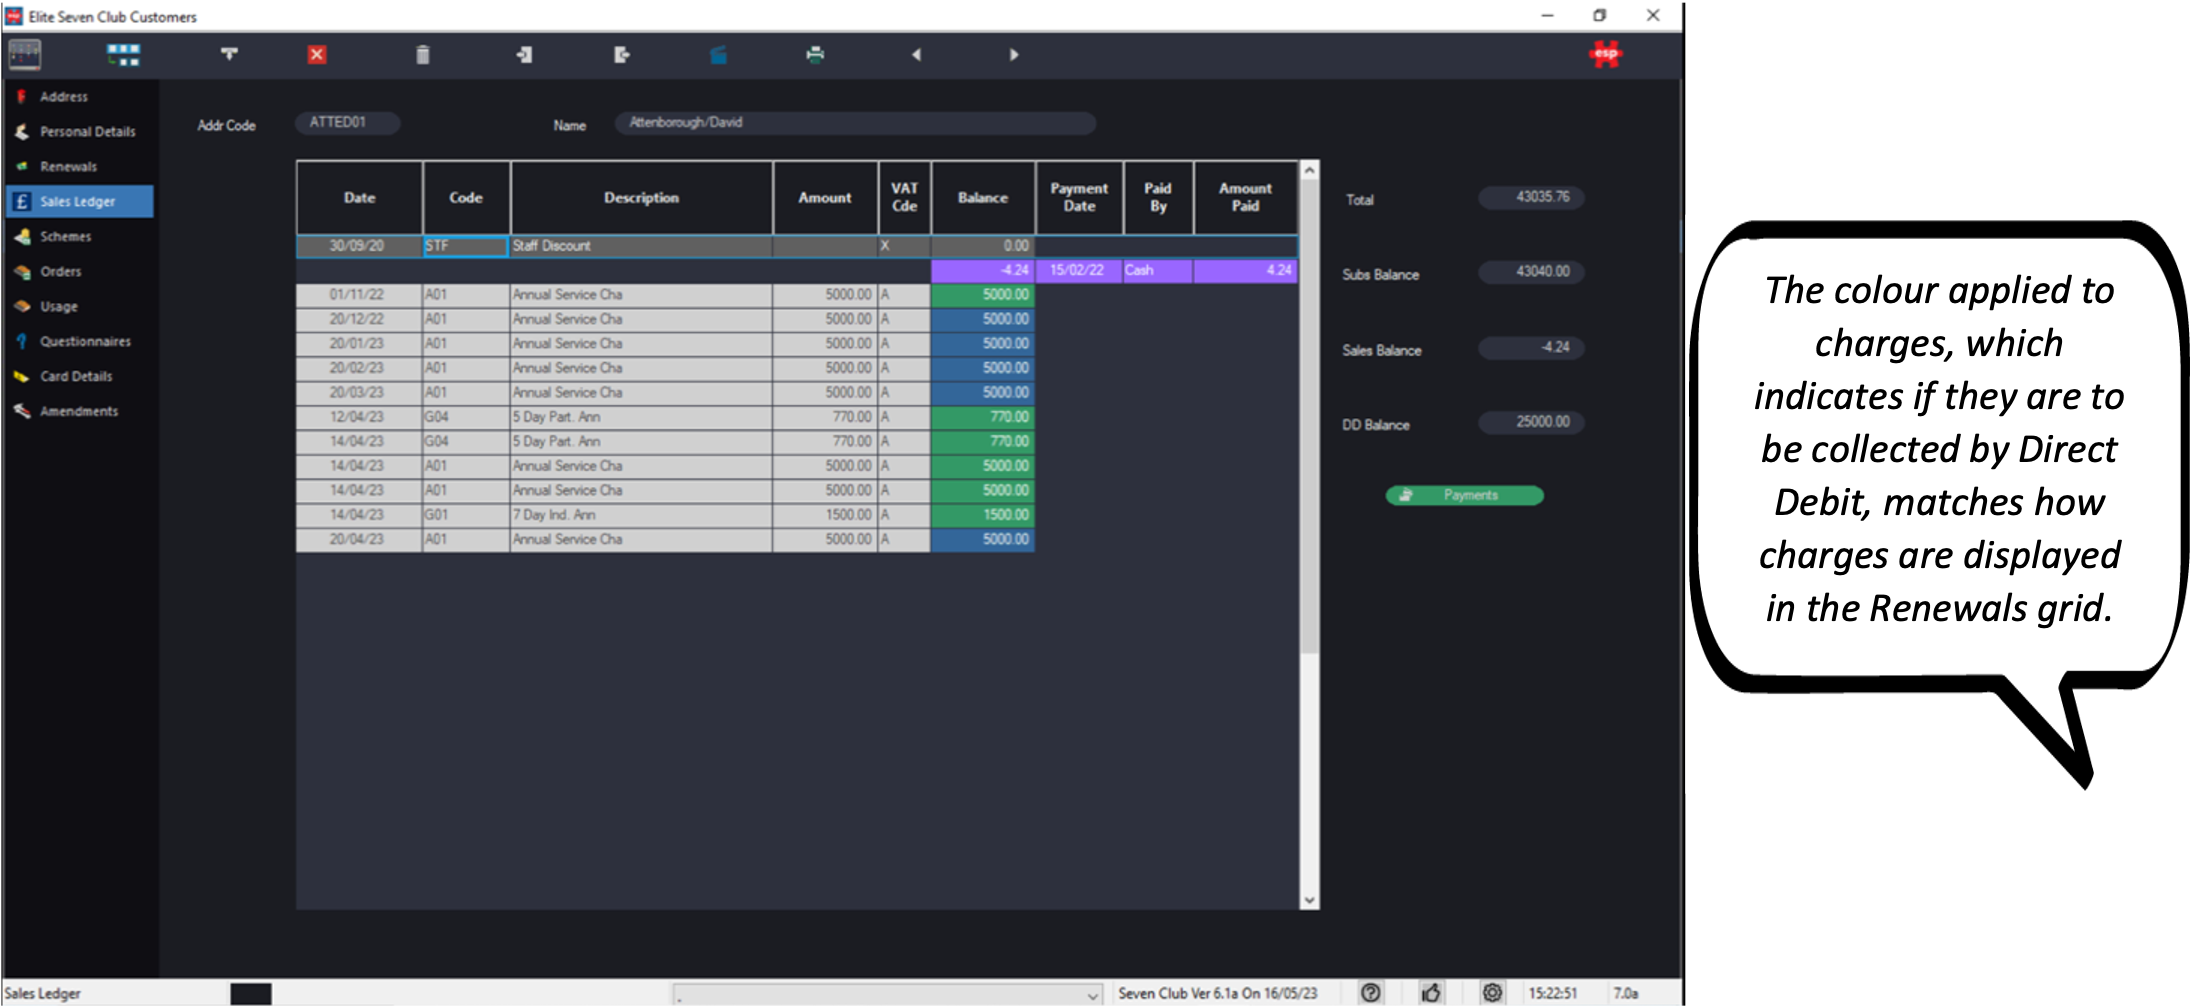
The value of each charge that is displayed in the Balance column is now colour coded to indicate whether the amount is due to be collected by direct debit. Charges due to be collected by DD are in blue and others are in green.
Point of Sale Colours
The F&B and Retail POS now use a new palette of colours; this may vary depending on how your system is configured but will be similar to the examples below.
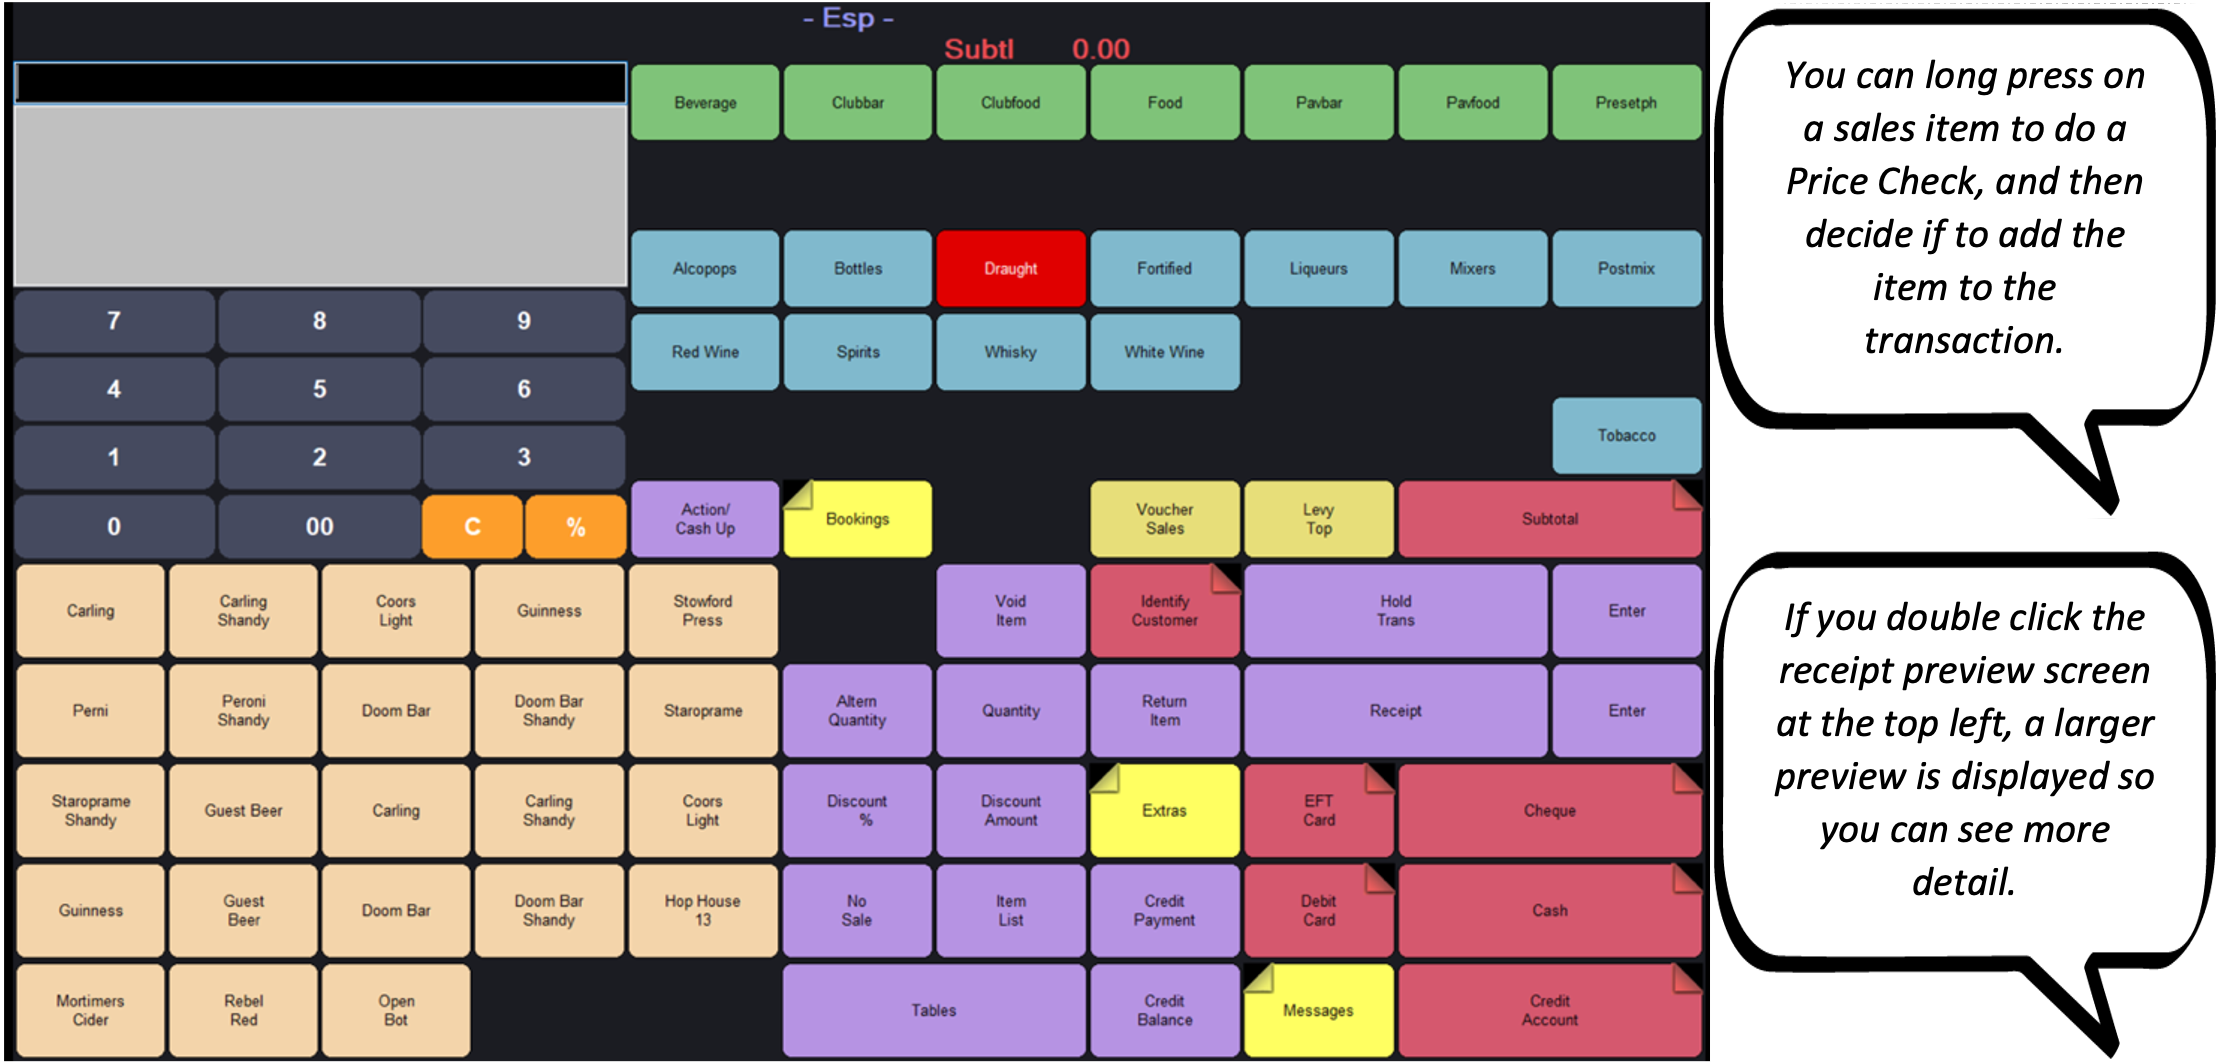
Food & Beverage PoS
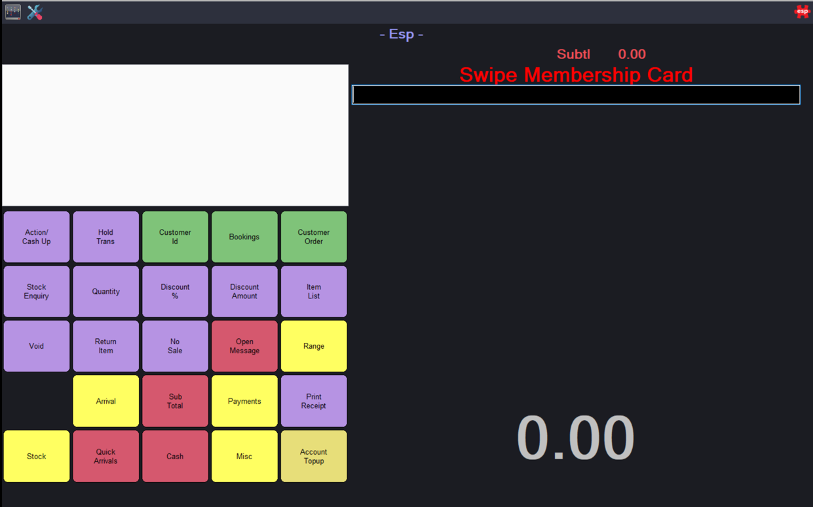
Retail PoS

Split Levy Discounts for Part Payment
If Levy Part Payment transactions are in use and there are multiple different discount percentages configured, the system can now be amended so that a proportionate value of each levy discount is applied to the transaction.
If your site offers different discount percentages based on the product group (e.g. Food 10% / Drink 20%) or based on the type of scheme issued to the customer, this may be of benefit as it allows for the correct proportion of discount to be applied to a part payment transaction.
This requires a configuration change to activate this so please contact us if this is something that you think will be beneficial for you.
